Showing posts with label delicious. Show all posts

Thursday, July 10, 2014

Homemade Ham & Pineapple Pizza


Okay, so I’m not sure if I’ve ever mentioned this on my blog, but pizza is my favorite food in the world. I don’t care if that makes me a 12 year old. I love it for many reasons, including, but not limited to:
  1. It covers all four food groups.
  2. It brings ham and pineapple together in my mouth.
  3. It's just as good leftover as it is fresh.
  4. It's covered in cheese.

I’m kind of embarrassed to admit that, until recently, I’ve never made a pizza from scratch... Unless you count pita-pizzas, in which case I’ve made hundreds!

Anyhow, I decided to rectify this blasphemous situation and so I bought myself a pizza stone, peel and assorted pizza making ingredients. I went to town on them and succeeded brilliantly. With brilliant forethought I made 2 LARGE Pizzas and therefore got to eat a whole ton of it. (Don’t worry, I worked it off at bootcamp!) Below is the recipe for homemade pizza sauce and homemade pizza dough…


Super Flavorful Homemade Pizza Sauce (original recipe here)
1 can tomato paste
6 oz warm water
3 tbsp Parmesan cheese
6 cloves crushed garlic
2 packets of Splenda (or a couple tsp of white sugar)
1 tsp onion powder
½ tsp oregano
½ tsp marjoram
½ tsp basil
½ tsp black pepper
¼ tsp cayenne pepper
¼ tsp dried red pepper flakes
Salt to taste

Directions

  1. Combine ingredients together. Make sure to crush oregano, marjoram and basin in your band first, which releases the flavor.
  2. Let pizza sauce sit for at least 30 minutes so the flavors can marry.


Easy Homemade Pizza Dough (original recipe here)
1 package active dry yeast
1 cup warm water (110 degrees F)
2 cups all-purpose flour
2 tbsp olive oil
1 tsp salt
2 tsp white sugar

Directions
  1.  Dissolve yeast in a bowl with warm water. Let stand 10 minutes.
  2. Combine all other ingredients and mix until a still dough has formed. Cover and let rise about 30 minutes.
  3. Preheat oven to 400 degrees.
  4. On a floured surface, knead dough until it’s no longer sticky.
  5. Use your hands to press the dough out into a circle big enough to fit your pizza stone, or use a rolling pin.
  6. Top with sauce, then ham, then pineapple and then mozzarella cheese (or whatever delicious pizza toppings you like).
  7. ENJOY your pizza goodness.

Tuesday, June 3, 2014

Homemade Walnut Date Oatmeal Raisin Energy Bars

I've been looking for a homemade granola bar recipe for ages, but they always call for ingredients I don't keep on hand so I never got around to making them.

However last weekend, Sara fed me an energy bar that was pretty yummy and only had 5 ingredients, which is such a rare and beautiful thing. I decided I must buy dates and make my own.

I found a set of recipes that seemed too easy to screw up and boy was I right. The only problem was I couldn't figure out how to work my brand new food processor... Seriously, appliances confuse me. I tried everything to no avail and ended up using my magic bullet which worked mostly fine.

The dates and walnuts blended together tastes strangely (and deliciously) like cookie dough. I ate so much of the batter out of the bowl that I feared I wouldn't be able to make a full batch of granola bars, so I decided to add the raisins and oatmeal in to beef it up. This recipe was 100% off the cuff and still so delicious. Pretty sure you could put any kind of add ins in here and it would be tasty. Without further ado, here ya go:

Homemade Walnut Date Oatmeal Raisin Energy Bars (Original recipe here)

1 cup dates
2 cups warm water
1 cup walnuts
1/2 cup raisins
1/2 cup oatmeal
1/4 tsp cinnamon

Directions
  1. Line a loaf pan with plastic wrap and spray with nonstick cooking spray.
  2. Put dates and raisins in a bowl and pour warm water over top. Let sit for 10 minutes until plump and then strain.
  3. While the fruit is plumping, pulse the walnuts in a food processor, or magic bullet (if you don't have or don't know how to work your food processor like me) until they are finely chopped. If you want bigger chunks of nuts, add some extras in towards the end.
  4. Then add the dates adn raisins to the nut mixture in the food processor and pulse until everythign starts to come together. Then mix in cinnamon and oatmeal.
  5. Plop into the loaf pan and spread out with a spoon.
  6. Refrigerate for 30 min, then cut them into 6 bars and individually wrap for snacks.

Tuesday, March 18, 2014

Spectacular Spaghetti Squash with Garlic Sausage and Roasted Red Pepper Sauce

I went through a phase of eating way too much squash and got all squashed out. I am back on the squishy squash train and have a delightful recipe to share with you!

First, some quick facts... Did you know spaghetti squash only has 31 calories and 7 grams of carbs per 100 grams? Compare that to pasta at 374 calories and 75 grams of carbs!

It's also super easy to make and doesn't have a super squashy taste to it! Forgive me for the annoyingly long name but I couldn't come up with anything shorter!  Now, here's my recipe...

Spectacular Spaghetti Squash with Garlic Sausage and Roasted Red Pepper Sauce


Ingredients
1 spaghetti squash
1 coil garlic sausage
3 cloves of garlic
1/2 white onion
1 red bell pepper
1 cup white mushrooms
1 pint cherry tomatoes
1 jar roasted red pepper tomato sauce
Seasonings to taste - I used salt, pepper, oregano, basil and cayenne
  1. Preheat oven to 375 degrees.
  2. Cut spaghetti squash in half lengthwise and remove seeds.
  3. Place skin side up on tinfoil lined baking sheet and bake for 30-40 minutes.
  4. Meanwhile in a frying pan, cook sliced sausage until nicely browned.
  5. In a large pot, heat a couple tablespoons of oil and add chopped onion and garlic. 
  6. Once garlic sausage is done add that to the pot as well.
  7. Then add mushrooms, tomatoes and red pepper, letting them soften before adding pasta sauce.
  8. Add spices in to taste.
  9. When squash is done, let it cool slightly and then use a fork to scrape the squash to make the 'noodles'. You can add the pasta sauce directly to the squash for a cute presentation, or scoop it out into a bowl.
  10. Top with some grated cheese and fresh basil and enjoy!


Wednesday, March 5, 2014

Chicken Lettuce Wraps

I love lettuce wraps. I can't help but order them when I come across them on a menu. I don't know why I've waited this long to make them myself! They are very simple to make and are great for lunch or dinner. This week I literally brought a container full of filling and a head of lettuce to work. Viola - lunches taken care of!

Chicken Lettuce Wraps
2 tbsp oil
1lb boneless skinless chicken breasts, cut up in small pieces
1 can water chestnuts, drained and diced
2 red bell peppers, diced
1 bunch green onions, chopped
2 carrots, shredded
3 tbsp soy sauce
3 tbsp hoisin sauce
1 tbsp garlic powder (or fresh)
1 tsp ground ginger (or fresh)

salt and pepper to taste
1/2 cup cashews, chopped
1 head iceberg lettuce
  1. Heat oil in pan and cook chicken until no longer pink.
  2. Meanwhile, chop vegetables and nuts.
  3. Once chicken is cooked add in vegetables, sauce and spices and cook for a few minutes until warmed through. I knew I would be reheating this, so I didn't cook it for very long as I didn't want the vegetables to get soggy.
  4. Spoon filling into lettuce and wrap up to eat. You can top with extra chopped cashews and/or grated carrots if you are looking for more crunch.
  5. Enjoy:)


Saturday, February 8, 2014

Chicken Cheese Avocado Quesadilla

My daily life revolves around food. Often, before I'm even out of bed I have a meal plan. Might sound excessive but remember that I eat the same thing for breakfast every day (banana, mixed berries, flax and almond milk protein smoothie) and I plan my lunches and a general dinner theme on Sunday. I know most people can't/won't eat the same thing for five days straight, but lucky for me I thrive on consistency. Also, I try to be conscious about not over shopping and buying more food than I need, then having to throw it away., so I don't usually have too many options!

Quesadillas are something I make all the time. Fact: quesadillas are delicious. Even when I have no groceries I still have the fixings for a dilla. All you need is cheese and tortilla- never let yourself run out of those! Sometimes I make them as simple as pesto and cheese. Often I'll use leftover fajita filling. I love a pesto cranberry chicken and Parmesan dilla. My most favourite, by far, is chicken with cheese and avocado!

Chicken Cheese Avocado Quesadilla

Ingredients
Whole wheat tortilla
Chicken
Cheese
Avocado
Salsa

Directions
  1. Place wrap in a frying pan and turn stove to medium-high.
  2. Chop chicken into bite sized pieces (I used teriyaki chicken -yum)
  3. Sprinkle one half of tortilla with cheese, then top with chicken.
  4. Cut up avocado and distribute half on top of chicken, top with more cheese.
  5. Mash the remainder of the avocado and spread on empty side of tortilla.
  6. Fold the tortilla over on itself and cook until edges harden, then flip to other side. This only takes a few minutes. 
  7. Get your salsa out and a plate, cut the dilla into 4 pieces and enjoy!


Thursday, February 6, 2014

Banana Coconut Oatmeal Flax Muffins

I am working on cleaning up my pantry, which means lots of interesting baking adventures! I'm also working on getting back in shape and that means I'm hungry all the time and need more snacks. This recipe was inspired by those two things - a healthy snack with a whole bunch of stuff in it!

Who can argue with deliciously sweet banana mixed with chewy coconut and yummy oats?  Nobody that I'd like to know, that's for sure!

Banana Coconut Oatmeal Flax Muffins (original recipe here)

Ingredients

3 Tbsp flax seed
6 Tbsp water
4 Ripe bananas
1/2 cup brown sugar
1/4 cup coconut oil (melted)
2 Tsp vanilla
2 Tsp baking soda
1/2 Tsp kosher salt (or table or sea)
1 cup all purpose flour
1/2 cup whole wheat flour
1/2 cup old fashioned oats
1/2 Tsp cinnamon
1/2 cup unsweetened shaved coconut

Directions

  1. Preheat oven to 375. Grease one muffin tin (this will make 12 good sized muffins).
  2. In your magic bullet, blend ground flax with water. This mixture acts as an egg substitute!
  3. Add the flax to your mashed bananas.
  4. In another bowl mix your melted coconut oil with brown sugar, then add vanilla and flax And egg mixture.
  5. Add your dry ingredients to the wet and mix untrustworthy combined. Don't over mix or you will ruin everything.
  6. Scoop into muffin tin then sprinkle with coconut or oats or both. Cinnamon sugar would be delicious too!
  7. Bake for 22 minutes or until a toothpick comes out clean!


Thursday, January 16, 2014

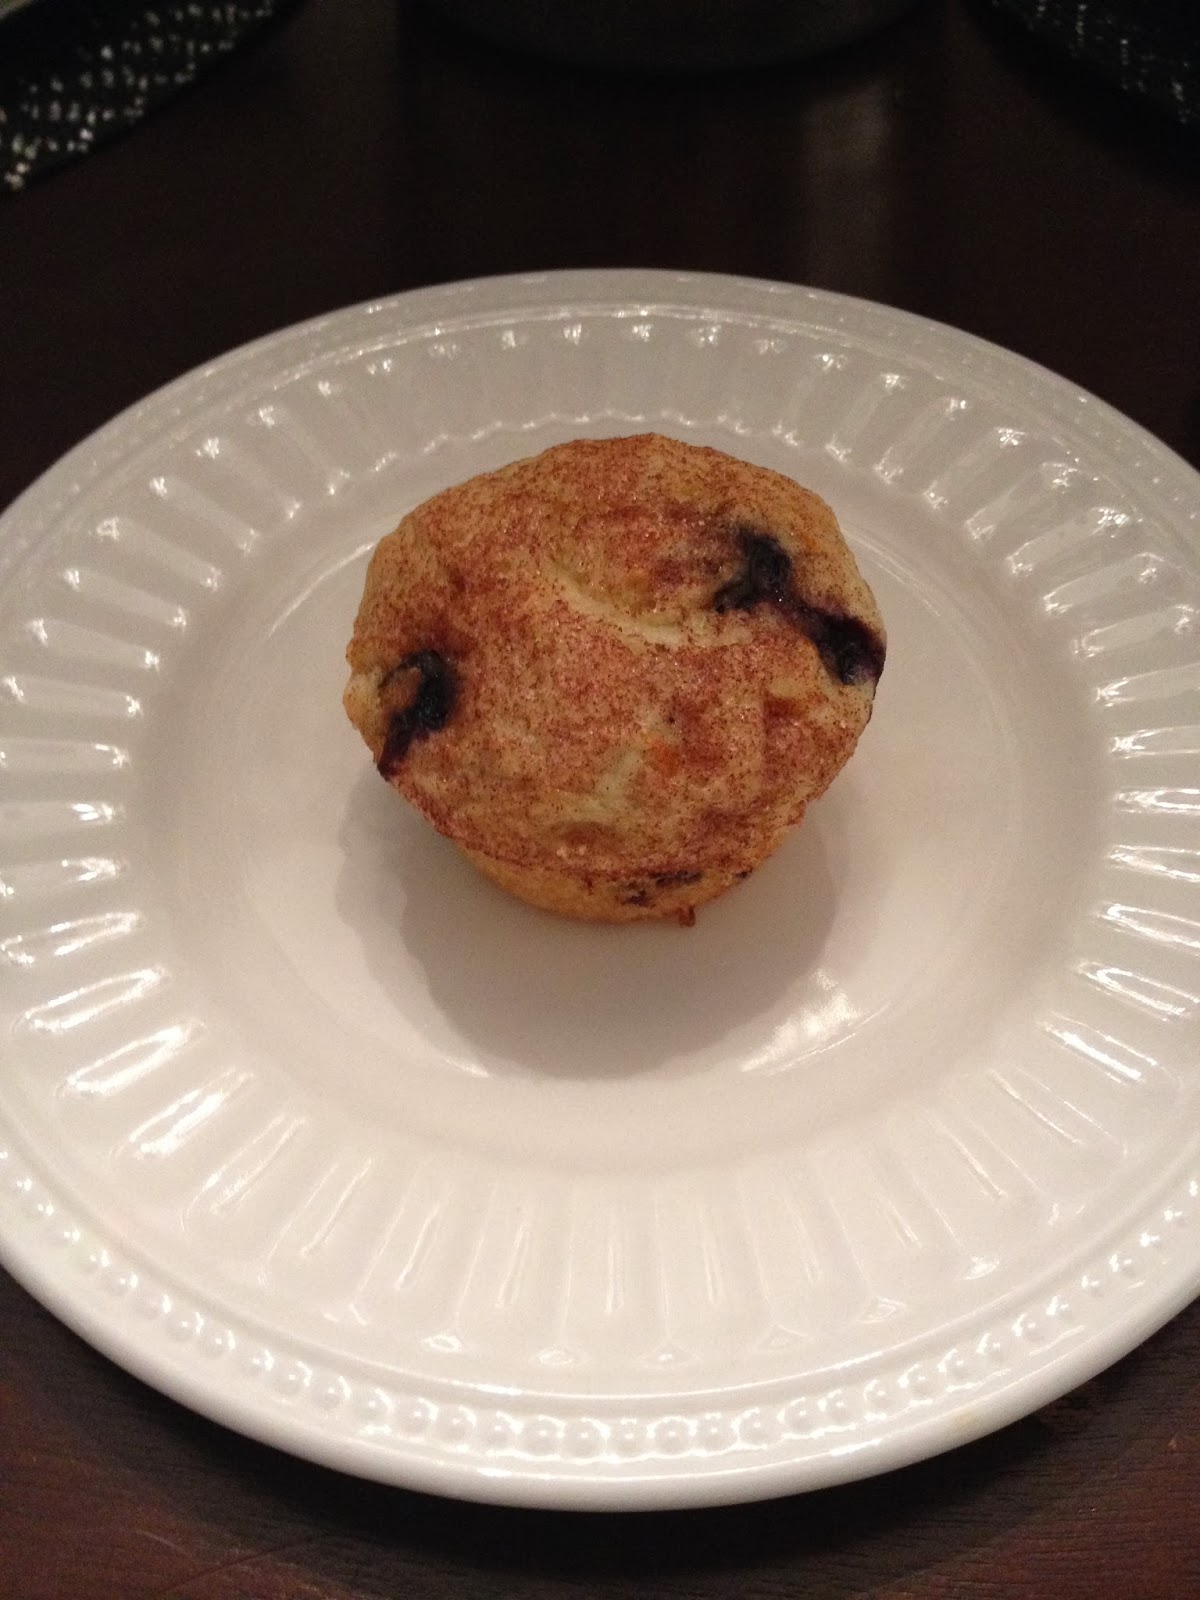
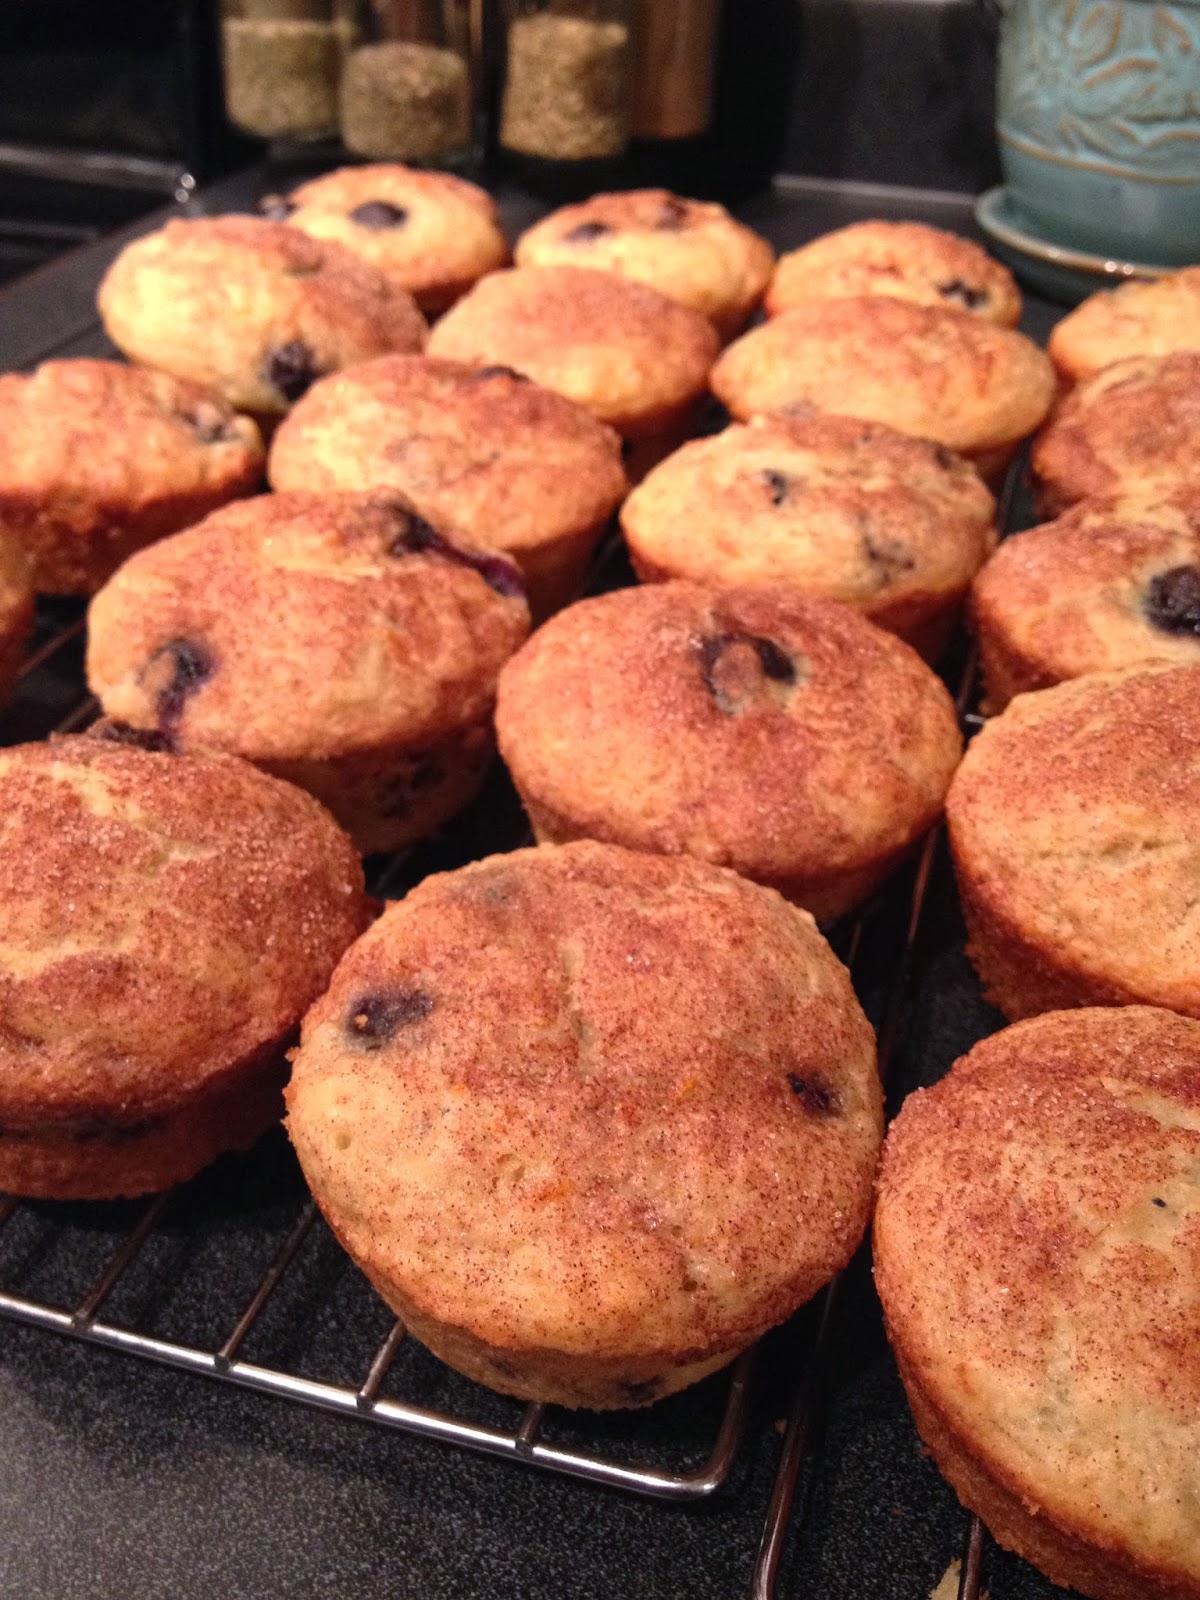
Orange Blueberry Oatmeal Muffins Recipe

These muffins were born of necessity. I accidentally bought a box of tangerines with seeds! I hate seeds in my oranges. I think everyone does. Not one to be wasteful I bought myself a hand juicer (that I don't know how to use properly) and juiced at least 20 tangerines. Before juicing I zested a few of them as well. Fresh squeezed orange juice is amazing. Nothing in the world like it. It's a mouthful of fresh deliciousness.

These muffins are super moist and delicious. I think they would be delicious with cranberries instead of blueberries as well. I also think the topping is not strictly necessary.

Orange Blueberry Oatmeal Muffins Recipe (original recipe here)
 Ingredients:
1 cup uncooked oats
1 cup fresh squeezed orange juice
3 cups flour
1 cup sugar
4 tsps baking soda
1 tsp salt
1 cup canola oil
3 eggs beaten
1 1/2 cups frozen blueberries
1 tbsp orange zest
1/3 cup sugar
1 tsp cinnamon

Directions:
  1. Preheat oven to 400 degrees. Grease 2 muffin tins.
  2. Mix orange juice and oats and set aside.
  3. Combine dry ingredients. Make a well in the center of the bowl and add wet ingredients. Mix only until combined. Fold in blueberries and zest.
  4. Divide evenly among 2 muffin tins. Sprinkle with cinnamon sugar recipe. Bake for 15 minutes or until a toothpick comes out clean. I rotated my pans at 8 minutes to ensure even baking.

Tuesday, December 31, 2013

Kiss Me Chocolate Chip Cookies


Chocolate chip cookies are almost the perfect cookie. Stuff a Hershey kiss inside and viola! it IS the perfect cookie! I searched for a recipe online, but was delightfully surprised to find it printed on the bag of mini Hershey's kisses! As long as you don't mind getting your hands dirty, you'll have a great time making and eating these. Anyone you share these with will definitely want to kiss you, so choose wisely :)

Kiss Me Chocolate Chip Cookies (original recipe here)

1 cup butter
1/3 cup brown sugar
1/3 cup white sugar
1 tsp vanilla
2 cups flour
1 cup chocolate chips
1/2 bag of Hershey's Mini Chocolate Kisses
  1. Cream together butter and sugar until smooth and delicious, then add in vanilla.
  2. Mix in flour and then chocolate chips.
  3. Take a tablespoon of dough and split in half, pop in the Hershey's Kiss and then cover with remaining dough. Place on cookie sheet.
  4. Bake cookies in 375 degree oven for 10-12 minutes or until lightly browned. 
Kiss Me Chocolate Chip Cookies Recipe

Kiss Me Chocolate Chip Cookies Recipe

Monday, December 30, 2013

Chocolate White Chocolate Chip Cookies

A recipe with chocolate in the title twice means guaranteed deliciousness. These cookies are chewy and chocolatey and decadent. I had to taste test a few of these just to make sure. These yummy morsels were a perfect addition to my Christmas baking - which also included Snickerdoodles, Easy Rolled Shortbread, Peanut Butter Blossoms and Kiss Me Chocolate Chip Cookies!

Chocolate White Chocolate Chip Cookies (original recipe here)

1/2 cup butter
1/2 cup lard
2 cups white sugar
2 eggs
3 tsps vanilla
2 cups flour
3/4 cup cocoa powder
1 tsp baking soda
1/2 tsp salt
1 bag white chocolate chips
  1. Cream butter, lard and sugar together until light and fluffy, then add in eggs and vanilla and mix until smooth.
  2. Sift in dry ingredients and mix until just combined and then hand stir in the chocolate chips.
  3. Drop teaspoonfuls onto cookie sheets at lesat an inch a part as these will spread out quite a bit.
  4. Bake in 350 degree oven for 8-10 minutes and let cool before transferring to cooling rack so they don't break apart on you!
  5. Now you can taste test your cookies, or share with friends... Whatever suits you!
Chocolate White Chocolate Chip Cookies Recipe

Wednesday, December 25, 2013

Shelly's Snickerdoodles Recipe

Merry Christmas ya'll! I wish you lots of turkey, baked goods, presents and joy!

You might want to sit down for the news I'm about to share... This is the first of four cookie blogs I'm hoping to post over the next week (Kiss Me Chocolate Chip Cookies, Chocolate White Chocolate Chip Cookies) !  I had a marathon Christmas Cookies baking session spanning three days, which was super exciting for me and now hopefully for you! Stay tuned!

So if you don't know what a snickerdoodle is, don't feel bad. I'd never heard of them until a few weeks ago when in am across them on a top 10 Christmas cookie list. Essentially they are a light and fluffy sugar cookie rolled I'm cinnamon sugar. They taste like cinnamon buns and heaven.

Shelly's Snickerdoodles (original recipe here)
1/2 cup butter
1/2 cup lard
11/2 cup white sugar
2 eggs
2 tsps vanilla
2 tsps white vinegar
1 tsp baking soda
1/4 tsp salt
3 tbsps cinnamon
3 tbsps white sugar
  1. Preheat oven to 400. Ideally you want your butter and eggs to be at room temperature. 
  2. Cream butter and sugar together then add eggs one at a time, followed by vanilla and vinegar. Don't worry you won't be able to taste the vinegar- but it's important as it acts as a leavening agent.
  3. Mix in the dry ingredients until just combined. 
  4. Mix cinnamon and sugar together in a small bowl. Roll 3/4 inch balls and drop into cinnamon sugar mixture until evenly coated.
  5. Pop on a pan at least two inches apart and bake for 8-10 minutes. Remove from pan immediately and place on cooling rack. This makes about 4 dozen.
Shelly's Snickerdoodles Cookie Recipe

Shelly's Snickerdoodles Cookie Recipe

Shelly's Snickerdoodles Cookie Recipe

Shelly's Snickerdoodles Cookie Recipe

Monday, December 16, 2013

Cheesy Garlicky Scalloped Potatoes Recipe

Lately my blog has been full of potatoes and cheese. I am not ashamed of that. I had to finish off the rest of the 10 lb bag of potatoes I bought and Jess said she was thinking of making scalloped potatoes, so of course I stole her idea and viola - Cheesy Garlicky Scalloped Potatoes were born.

Of course I didn't follow the recipe and used almond milk instead of cows, which always makes me nervous, but the garlic covered up any almondy taste that might've made it weird. I also used a Tex Mex cheese mix and parmesan because those are my favorite and i didn't have cheddar. The sauce got really thick and was almost gloopy. I don't really know why. I'm sure it wasn't supposed to be like that, but it baked up fine and tasted delicious. I made this the night ahead because, as per usual, I had a lot of free time on my hands. 

Cheesy Garlicky Scalloped Potatoes Recipes (here's the original recipe)
1/4 cup butter
4 tbsps flour
1 tsp kosher salt
1 tsp black pepper
3 garlic cloves
1 tsp parsley
1 1/2 cups almond milk
1/2 cup tex mex
1/2 cup parmesan
2 lbs potatoes (I used 10 small) peeled and thinly sliced
1 sweet white onion thinly sliced
  1. Peel your potatoes and slice them thinly. Then do your onion. Layer half the potatoes in a SPRAYED 9x13 pan, then layer half the onions.
  2. In a pot, melt your butter, then add flour, garlic, salt and pepper. Mix until smooth. 
  3. Add milk in slowly, mixing continuously until all your milk is added. Bring to a boil and stir until thickened. Remove from heat and add cheese.
  4. Pour half the cheese sauce over the potatoes and onions. Then do your second layer or potatoes and onions and top with the rest of the sauce.
  5. Cover and bake at 350 for 50 minutes. Uncover and bake for 10-15 minutes longer. At this point add more cheese if you love cheese. 
PS  if you like this, you're probably going to love my Shepherd's Pie Recipe - read it here.
Cheesy Garlicky Scalloped Potatoes RecipeCheesy Garlicky Scalloped Potatoes Recipe


Cheesy Garlicky Scalloped Potatoes RecipeCheesy Garlicky Scalloped Potatoes Recipe

Cheesy Garlicky Scalloped Potatoes RecipeCheesy Garlicky Scalloped Potatoes Recipe
 Cheesy Garlicky Scalloped Potatoes Recipe